Orthodontic bonding is the process of securely attaching orthodontic appliances like brackets to teeth, creating anchor points for archwires and other appliances to guide tooth movement. This technique enables precise, fixed appliance therapy without metal bands, improving comfort, esthetics, and hygiene throughout treatment. This walk-through will show you exactly how to achieve reliable, high-quality bonds with BracePaste® Adhesive from American Orthodontics.
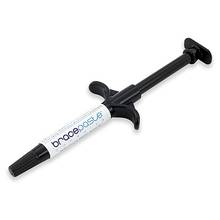
BracePaste® is a medium viscosity, light-curable adhesive that provides optimum bonding of metal and ceramic brackets.
BracePaste® Adhesive
BracePaste® is a medium viscosity, light-curable adhesive that provides optimum bonding of metal and ceramic brackets. The adhesive is designed to minimize bracket drift and provide easy flash cleanup. It allows for immediate arch wire tie-in after light curing, and fluoresces under UV light to assist in clean up. BracePaste is stored at room temperature, and is compatible with most light cure orthodontic sealants and bond enhancers.
| BracePaste® Classic | BracePaste® Color Change | |
|---|---|---|
| Light cure, medium viscosity | ||
| Fluorescence under UV light | ||
| Immediate wire tie-in after curing | ||
| Available in syringes | ||
| Available in carpules | ||
| Room temperature storage | ||
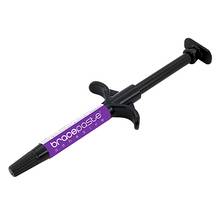
| Color | Translucent | Starts purple, turns translucent after light-curing |
BracePaste® Color Change starts purple, turns clear after light-curing, making excess adhesive easy to spot.
| Product | Before Light Curing | After Light Curing |
|---|---|---|
| BracePaste® Classic | ||
| BracePaste® Color Change | 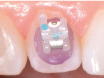 |
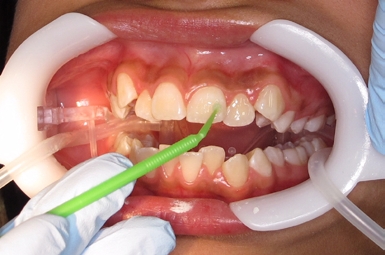
Bonding Protocol: Tooth Preparation
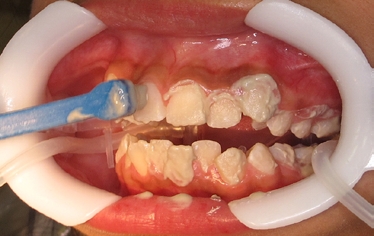
Step 1
Prophy with a rubber cup and oil-free pumice; rinse and dry with oil-free air.
Step 2
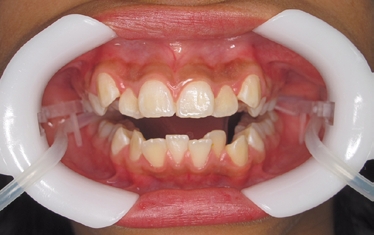
Isolate with cheek retractors, cotton rolls, and saliva ejectors—moisture is the enemy.
Step 3
Etch - Follow manufacturer's instructions. Rinse thoroughly until all etchant is gone.
Step 4
Dry the teeth with moisture-free air.

Step 5
Inspect the etched teeth; they should appear dull and frosty white. If desired, apply primer/sealant according to the manufacturer’s instructions.
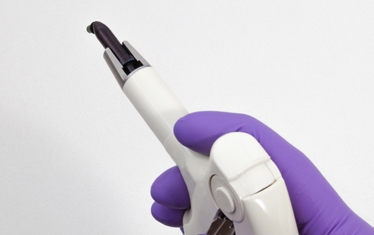
Bonding Protocol: Adhesive Application using Syringe
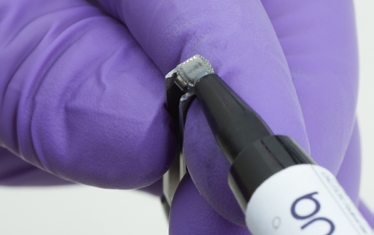
Step 6
Apply a small amount of adhesive to the bracket base.
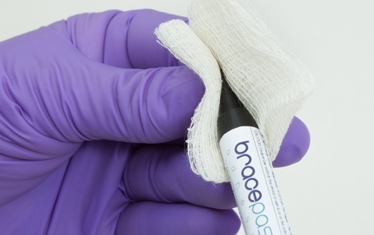
Step 7
When complete, wipe the syringe tip and replace the cap.
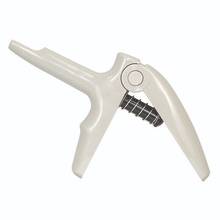
Bonding Protocol: Adhesive Application using Carpule
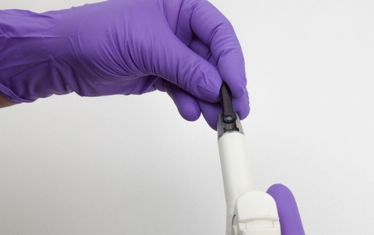
Step 6
To insert carpule into dispenser (Carpule Gun), open dispenser handle as wide as possible. Pull plunger toward opened handle. Place carpule tip into the barrel slot.
Step 7
Seat the carpule in the barrel by pushing the carpule forward (away from the handle) as far as possible. Push plunger towards carpule. Close handle grip until plunger contacts the carpule.
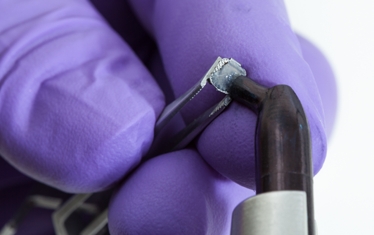
Step 8
Dispense a small amount of adhesive paste onto bracket base using a slow, steady pressure. Work the adhesive into the bracket mesh. When completed, wipe carpule tip clean with a solvent-free dry cloth and replace cap.
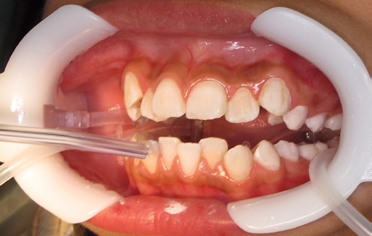
Placement and Curing
- Immediately after applying adhesive, place bracket onto tooth surface.
- Adjust bracket to final position. Press firmly to seat bracket.
- Gently remove excess adhesive from around the bracket base without disturbing the bracket.
- Hold the curing light stationary at a distance of 1-2 mm above interproximal contact for metal appliance and perpendicular to ceramic appliance surface.
- Arch wires may be placed immediately after curing the last bracket.
Quick Troubleshooting
| Problem | Likely Cause | Fix |
|---|---|---|
| Bond failure within days | Moisture contamination, under-curing | Re-isolate, extend cure time |
| Excessive flash | Over-dispensing | Use half the amount next time |
| Color Change still purple | Insufficient light exposure | Cure additional 5-10 s per side |
Key Takeaways
- BracePaste® delivers bond strengths and quality comparable to market competitors like Transbond™ XT with similar bonding protocol.
- Consistent moisture control and precise adhesive volume are the keys to success.
- Choose Color Change for easier visual management or Classic for a neutral aesthetic.